Give your Eglu chicken coop a spring clean
Spring is a season full of new growth, opportunities, and new beginnings. Most of us are no strangers to decluttering during this season, but have you thought about how to give your Eglu chicken coop a spring cleaning? It won’t take much time, and your hens will appreciate a fresh coop for prime laying season. Here’s how to give your Eglu chicken coop a deep cleaning to prepare for the warmer weather ahead.
The importance of deep cleaning
All hen houses should be deep cleaned at least twice a year, but when they’re as easy to clean as Omlet’s line of Eglu chicken coops, you’ll want to clean it even more often. As a chicken keeper, there are few things more satisfying than a spotless coop — even more so when it takes only a few minutes.
Deep cleaning your chicken coop isn’t just aesthetically pleasing, it’s necessary to keep your hens’ home hygienic and parasite-free. While Eglu chicken coops are made of parasite-resistant plastic, deep cleaning the coop will prevent red mites in your flock, and keep flies to a minimum.
Spring cleaning an Eglu chicken coop
Our chicken coops are the easiest hen houses you’ll ever have the pleasure of cleaning. Turn the dreaded chore of scrubbing and scraping a dirty chicken coop into a quick and enjoyable sunny day pastime with our ingenious plastic chicken coops. Here’s how to give your Eglu a deep clean this spring.
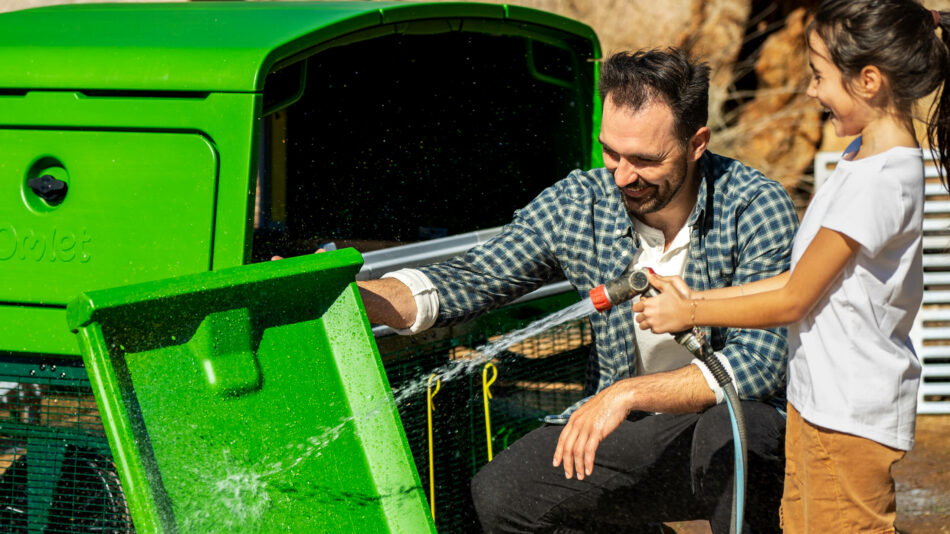
Take out and clean the removable parts
Removable droppings tray, roosting rack, and the nesting box tray (a feature of the Eglu Pro Chicken Coop) make cleaning your coop a breeze. Dump any bedding into your compost pile or garbage bag, and brush any lingering debris away. Lay the components out on a clean surface, and spray them thoroughly with a pressure washer or water hose. A dish scrub brush, clean toilet bowl brush, or other bristled cleaning device can easily remove caked on debris. Or, if you prefer a more hands-on approach, a bucket of soapy water and sponge will also get the job done.
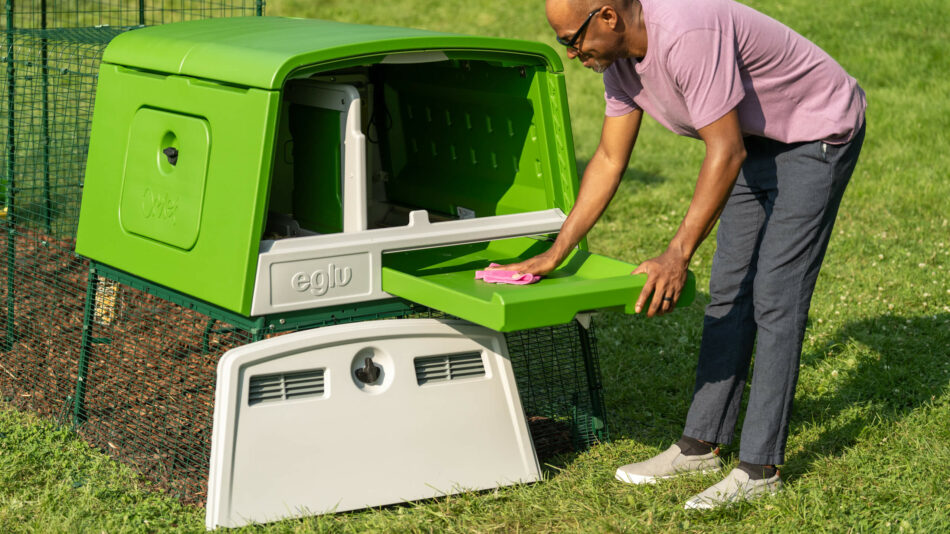
Spray and wipe down the inside of the coop
The inside of our Eglu chicken coops are also made of smooth plastic, so your pressure washer or water hose can be used to spray the inside clean. Wipe down with a cloth or sponge, and scrub any stubborn debris with a scrub brush for a sparkling clean in minutes. The Eglu Pro, Eglu Cube, and Eglu Go Up chicken coops are all elevated, so this step in the cleaning process can be performed at a convenient height.
Reassemble and rearrange the coop
Once the removable components and the inside of the coop are clean, it’s time to reassemble it. If your hens will need to use their coop soon, dry off as much of the interior as possible, along with the trays before adding bedding back in. This will prevent moisture buildup in the bedding. If your hens are happily out pecking and scratching, you can leave the coop and its parts out in the sun to dry — which shouldn’t take long, thanks to the longer, warmer days.
If you’ve made your hens’ house a mobile chicken coop, now is the perfect time to move it to a fresh spot. A shady area in preparation for the warmer spring days, or perhaps a fresh plot of grass for your flock to peck and scratch in are ideal locations this time of the year.
A fresh, clean coop for spring
And there you have it — a deep clean for your hens’ home in under an hour. Once your coop is this clean, it will be easy to maintain throughout the year. Replace the bedding in the droppings tray as needed, and fluff the nesting area occasionally to keep everything fresh for your flock.
During the spring and summer months, it’s a good idea to proactively powder the roosting areas of your coop with diatomaceous earth to help prevent parasites from sneaking a midnight snack. Eglu chicken coops don’t have wood grain for mites and other parasites to hide in, but they are opportunistic eaters and may take a meal to-go. Their bites will irritate your chickens just the same, so by sprinkling this effective dust around and inside of the coop, you’ll greatly reduce the prevalence of unwanted parasitic visitors.
Omlet and your spring chickens
Spring is a wondrous time for chickens and their keepers. Watching your flock chase insects, scratch through fresh grass, and take luxurious naps in the sun are some of the most rewarding sights. To help you and your hens make the most of this season, choose our easy to clean Eglu chicken coops. Combine the ingenious design of these comfortable and functional coops with weatherproof chicken run covers for protection from spring showers, and our secure smart Autodoor to tuck your flock in safely each night after a long day of foraging.

This entry was posted in Chickens
One reply on “Give your Eglu chicken coop a spring clean”
I agree. I wish Eglu would put access doors at the back of the run under the coop and one on top or side of the run. Good luck with your girls.