A first-hand look at raising chicks in the fall – part 3
Hey y’all! My name is Alyssa Holland, and I live on a small hobby farm in north-central Texas. We have all kinds of animals on our farm: horses, goats, a miniature pig, rabbits, guinea pigs, dogs, cats, fish, and of course — chickens! We have around 25 chickens currently, and tend a mixed flock of many different breeds. Most recently, we’ve added a rescue pigeon to our flock that thinks she’s a chicken!


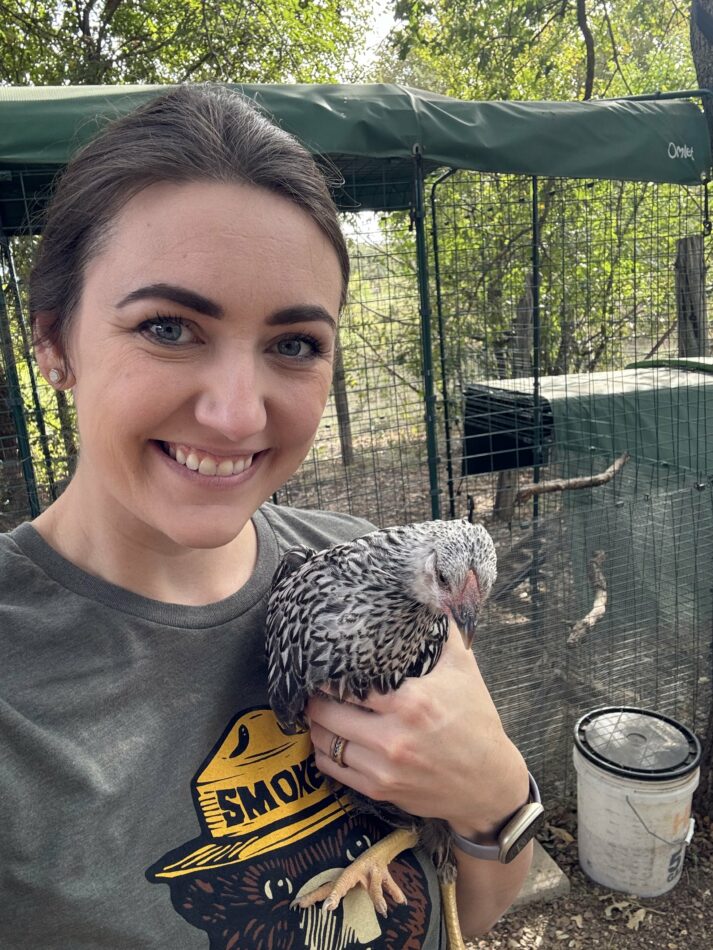
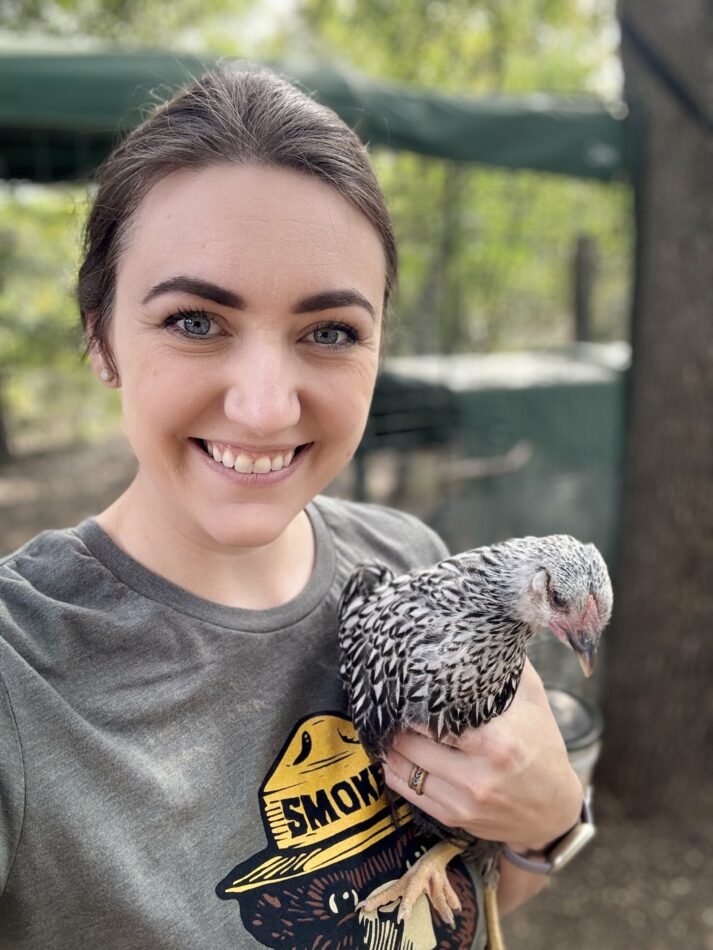
It’s late November, and my chicks have officially made the move from brooder to coop! As I mentioned in my previous blog, a lot of thought and consideration went into where to place them, and ultimately I had to rehome 2 of the 6 chicks that I started with. But, it has worked out wonderfully, and I now have a small flock of thriving pullets — and a surprise rooster! See how we made our final transition, and my top tips and tricks to make the move smooth and stress-free.
Before moving chicks
I had to make some important decisions and modifications before moving my chicks. Even though my chicks were old enough to make the move, I had to assess their strength and agility, determine their future flockmates, and rearrange some of their essentials.
Determine physical capability
The most important thing to consider before moving your chicks is if they are fully feathered or not. Chicks that don’t have all of their adult feathers should never be without a heat source. The brooder temperature should be decreasing each week, but chicks with even tiny amounts of fluffy down feathers should not be removed from the brooder. Most breeds are fully feathered by 5 or 6 weeks of age, but I prefer to wait a little longer to make sure they’re mature enough to weather the elements.
For an elevated coop like the Eglu Cube, it’s important to consider your chicks’ physical ability. I actually outfitted the ladder with a homemade ramp, as my Silkies had trouble navigating the rungs. I’ve left it for the chicks, making it easier for them to go up into the coop.
You’ll also want to make sure that your chicks’ feet won’t slip through the roosting rack slats. This is one of the reasons why Omlet recommends waiting until your chicks are 12 weeks old before transitioning them into their coops. I did a “trial placement” of my chicks before officially moving them into their coop to make sure their feet were big enough to be safe on the rack (they were!).
Lastly, make sure your chicks are old enough to grasp the concept of a schedule. They’ll need to be able to put themselves to bed in the roost each night around dusk. You should see them display this behavior in the brooder as your chicks mature.
Evaluate flockmates
If you have more than one flock like I do, you’ll need to consider the personalities of each hen. Is there a dominant hen that is vigilant in keeping others in line? Is a rooster in the picture? And, is there room for the new chicks in the coop?
My Eglu Cube and Walk In Chicken Run housed a small flock of 2 Polish hens, 1 Bantam Cochin hen, and a Silkie cross hen. The Polish hens are very submissive, while the smaller hens were a mother-daughter duo that had a tendency of ganging up on more timid flockmates.
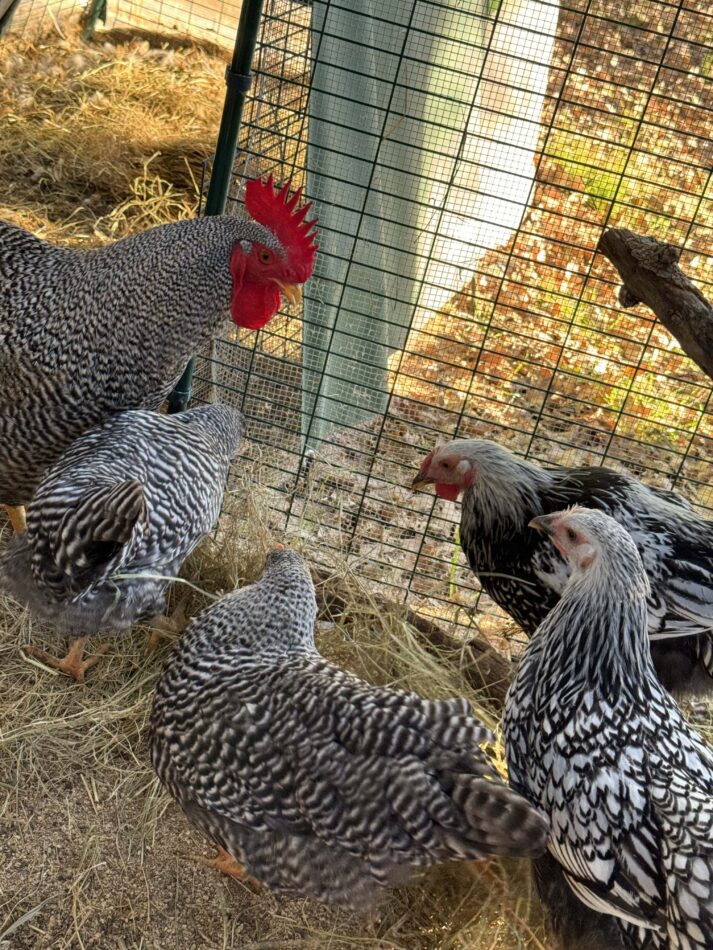
Ultimately, I ended up moving the Bantam and Silkie cross, leaving just the 2 Polish hens in the Omlet setup. This ensured that my still-young chicks had the most docile flockmates to join up with. Since I rehomed 2 of the chicks, my 6×9 walk in run was the perfect size for this size flock — and I even had room to later add a Barred Plymouth Rock rooster from our other flock that was being bullied by our older rooster. This brought my Omlet flock total to 7 chickens, and they’re thriving!
Change feeder and waterer heights
Omlet’s chicken feeders and waterers are so easy to move up and down on the wire of the walk in run. I made sure to move the waterer and feeder down far enough for my chicks to access them. I feed my chicks medicated chick starter until they are around 12-14 weeks old, so I also hung a separate feeder of their chick feed in the center of the run, suspended with some thin rope. The run-mounted Omlet feeder holds their layer pellet, which they eat as well.
Making the move
I had taken my chicks for visits around the coop and run throughout their time in the brooder, so they were already familiar with the journey. We made sure to hold them securely, and carry them into the run before gently placing them on the ground. My nephews happened to be visiting us on chick-moving day, so between them, my two kids, and myself, we were able to move all of the chicks in one trip!
Our two Polish hens were absolutely terrified of their new run-mates for several hours — they would stay under the Eglu Cube while my chicks happily explored the Freestanding Chicken Perch! This standoff lasted only until mealtime, where they cautiously observed each other at a closer distance.
Where chicks fall in the pecking order
In my experience, Polish hens have been the most docile and submissive breeds I’ve owned. That’s why I chose to integrate these newcomers in with my two gentle girls. It’s worked out great so far, but every flock needs a top hen (or rooster).
I purposely moved my Bantam and Silkie cross hens out right before moving the chicks in so that the Polish hens wouldn’t vie for the position of top hen between themselves, and in turn bully the chicks. It worked! The chicks moved in, and the older hens went about their usual business, and the drama was kept to a minimum. Typically, chicks will be at the bottom of the pecking order of flocks — at least until they’re old enough to challenge the status quo.
The main issue we ran into was teaching the chicks to go up into the coop at night. They were much more interested in roosting on the Freestanding Chicken Perch for the first few nights — with the Polish hens actually joining them. Once the mature hens started in, I knew we had to break the habit fast! I put all 6 chickens to bed by hand for 3 nights in a row, and closed the coop door. They call caught on quickly, and now head up into the coop at dusk each night with no problem.
A rooster in the roost
Here’s where things get interesting: a Plymouth Rock pullet from our spring crop of chicks ended up being a rooster. Our large flock already has an old, polite rooster, who was none too pleased to have competition in the coop. So, we moved the pullet imposter to the Omlet setup since our other rooster had kept him relatively submissive.
But the plot thickens! The Laced Wyandotte chicks from this fall were older straight runs. I knew it would be a gamble, but based on feathering and size, I was fairly confident that I had picked out pullets. Alas, now I have matching set of Laced Wyandottes! So, at some point, we will need to rehome one of the roos, but for now, everyone is living in harmony.
Winter preparations
Coming into December, these chicks are now 14-16 weeks old. Since they’re fully feathered and a healthy weight, the winter preparations will be the same as the rest of the flock. Being in Texas, our winters are very mild — until they aren’t! We’re having a typical late-fall season: slightly rainy, moderate temperatures, with nights occasionally dipping a degree or two below freezing.
I switch from pine pellets to shavings as bedding under the roost rack during the cooler temperatures to add some insulation. I also close the Autodoor on nights when the temperature is freezing or below. This way, by the time winter is in full swing, this small flock will be accustomed to their Autodoor’s schedule.
Once the temperatures are steadily around freezing, we run extension cords to plug in submersible bird bath heaters for the chickens’ waterers. These work great in the Omlet chicken waterers, keeping the water thawed — even in temperatures well below freezing!
We also feed alfalfa hay to our flocks on cold weather days, along with dried black soldier fly larvae and extra scratch grains. They also get a healthy portion of kitchen scraps and chicken-safe leftovers. The chicks are very excited to be expanding their previously limited palettes!
My top takeaways
So, overall, my first experience raising chicks in the fall was very positive! It wasn’t much different than raising them in the spring — in fact, in our climate, it was even easier. I didn’t have to worry about the chicks overheating in the brooder during warm spring/early summer days. And, preparing chickens for winter in our area is much easier than the scorching summer heat. Here are my top tips and takeaways from this experience:
- I 100% recommend raising chicks in the fall if you live in the hot southern states. Since chickens fare better in the cold than heat, it’s much easier to transition chicks outside in the more temperate weather.
- Finding chicks during early fall wasn’t as challenging as I thought, but the selection was more limited than in the spring. Hatcheries still produce chicks throughout the fall, so next year I may place an order for specific breeds rather than shopping local.
- Move your chicks in with hens that are calm, non-combative, and well-established in their routine to show the younger pullets the ropes.
- We wrapped the bottom 4 feet of our walk in run with hardware cloth. This will keep snakes out, which in our area, are very active in both spring and fall. Chicks are prime targets for rat snakes in particular, which can infiltrate a run through the top if it’s near a tree or shrub. We keep chicken run covers on the top of the run to prevent drop-ins.
- If you’re like me and miss the longer, warmer days of summer this time of year, chicks are an excellent anecdote! It’s like having a piece of spring with you all fall and winter long.
And there you have it! I hope you take the plunge next year and try raising chicks in the fall. It’s been a fun experience that I definitely plan to repeat!


By: Alyssa Holland
This entry was posted in Chickens