Basic care for newly-hatched chicken chicks
Are you considering welcoming new chicks to your home? We caught up with our friends at Meyer Hatchery for their advice on how you can best prepare and care for your new arrivals.
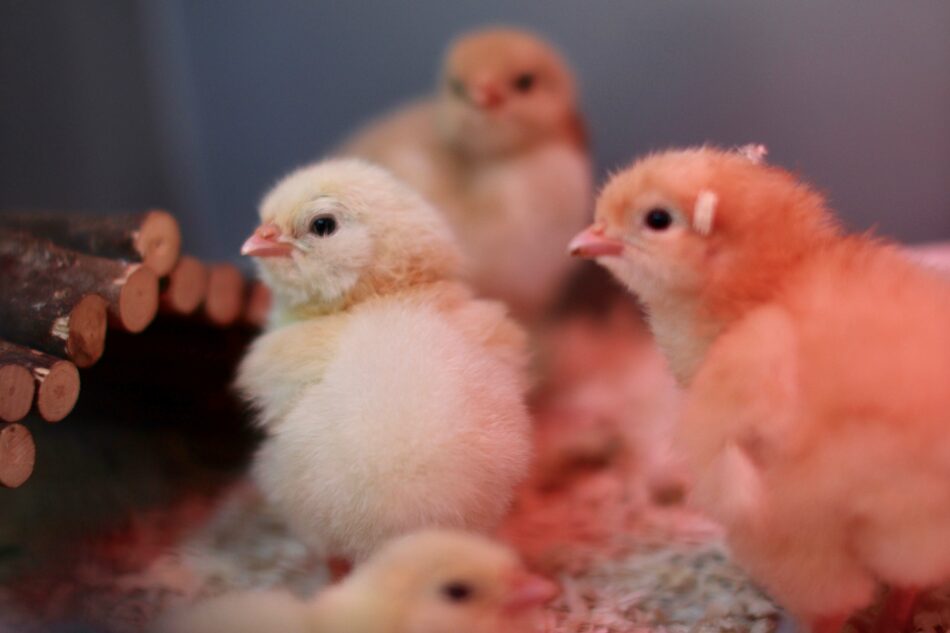
Getting new chicks is an exciting time, even more so if it’s your first time raising them. It’s important to read up on how to properly care for your new bundles of fluff so they grow into great laying hens for you. Here’s a brief primer for you on what to prepare for them, what to watch for in their health and wellness, and a timeline for moving outside into their coop.
Before arrival: set up a warm brooder
Large plastic storage totes work best to set up a brooder for 3 to 8 chicks. The tote can be easily sanitized before and after use; they are waterproof and serve as a handy storage box for the chick feeder and waterer after your chicks are grown and moved out into their coop.
Chick brooder shopping list
- Large plastic tote
- Pine shavings (caution: not cedar, it may harm chicks)
- Heat lamp with the bulb or brooder warming plate
- Chick-sized feeder
- Chick-sized waterer
- Digital thermometer with an easy-to-read display
- Chick starter food
- Optional – heat lamp stand
Place a 1-inch layer of pine shavings in the tote. Fill the waterer and feeder and place them in the brooder. Turn on the heat lamp or warmer plate and place it in the center of the brooder. Place the thermometer on top of the pine shavings in the center of the heat lamp’s spotlight.
Warning: If you use a heat lamp, make sure that you use at least two ways to secure the heat lamp over the brooder. The heat lamp usually comes with a clamp attached, but this clamp can fail or be knocked loose as the chicks grow and get more active. We recommend using a heat lamp stand and chain to secure the heat lamp by the hanging bracket, and then also secure the lamp again by using duct tape to secure the power cord to the stand as a backup.
Brooder temperature by week
- 95 degrees F at 0-7 days old
- 90 degrees F at 8-13 days old
- 85 degrees F at 14-20 days old
- 80 degrees F at 21-27 days old
- 75 degrees F at 28 days to 5 weeks
- At 5 to 6 weeks of age, chicks are feathered well enough to begin the transition to
outdoor temperatures. Turn the heat lamp off during the day. Monitor overnight low
temperatures and give overnight heat depending on the season.
At chick arrival
Place the chicks in their warm brooder. Carefully dip each chick’s beak into the drinking water. This encourages them to begin drinking. Chicks will not eat and drink until they are thoroughly warmed up. If the chicks are closely huddled in a tight ball under the heat source and chirping loudly, they are too cold. If they are giving quiet, happy little chirps, testing the food and water and exploring their new environment, they are comfortable. If they are spread to the far corners of the brooder, the temperature is too hot.
Daily care
Change their drinking water daily. Fill the feeder as needed. As the chicks grow, you may need to elevate their waterer on bricks to help keep the shavings out of the water. If using the heat lamp, raise the lamp to lower the temperature in the brooder. Monitor the chicks for signs of pasty bottom and deal with it promptly. If you have any chicks that appear to be lethargic, You may find our tips on reviving a weak chick helpful.
This blog was written by Meyer Hatchery.
This entry was posted in Chickens