How to Teach Your Dog to Go Through a Door Flap
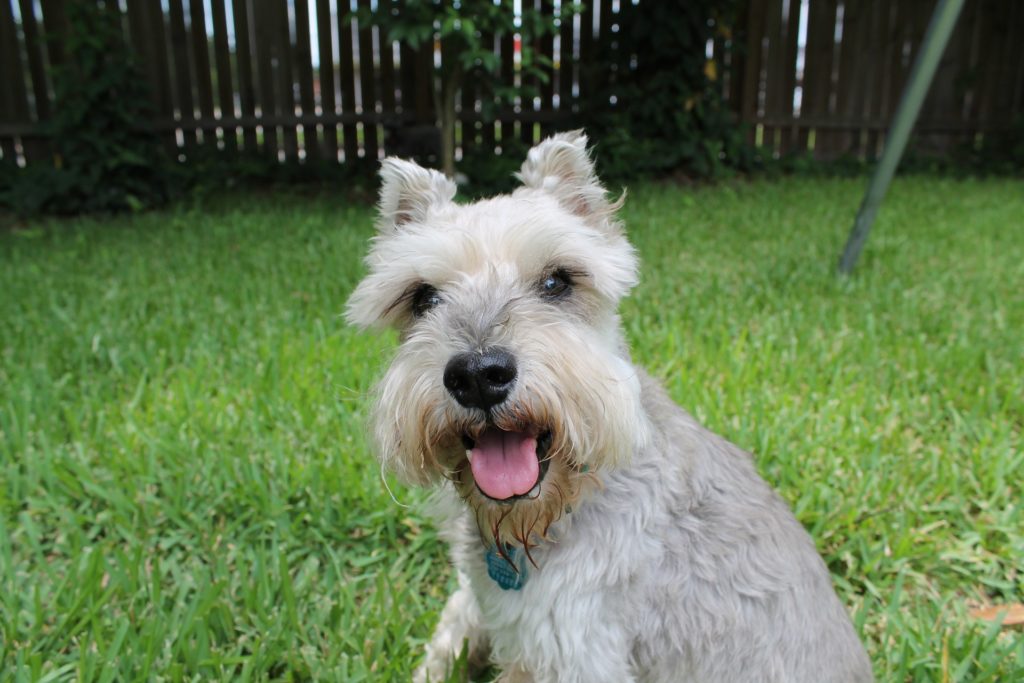
When we got our Miniature Schnauzer, we had already had a catflap in the back door for years. We soon realised that our little dog would easily also fit through the cat flap, and this would allow her to go in and out of the yard whenever she liked. We decided to pin it open to see if she would even use it at all, and it turned out to be a hit. It worked perfectly and in the summer it was nice to have a light steady breeze from the door. But we all know, summer must come to an end one day. And it did.

Winter came and with that freezing air blowing through the cat flap every day, all day. Unpinning the door meant having a sad little furry dog staring at it in disbelief “This used to be open all the time! Why is it locked now? And since when can the cat walk through walls?” The surprised look on our dogs face every time the cat appeared and vanished in the door was adorable and yet a little upsetting. How she wished to have the cats ability of passing through closed doors. And I wished that too. The comfort of going in and out whenever she wanted proved to make for a demanding dog, that needed help to open and close the door. Countless times a day.
Something had to change. As she didn’t understand how the door worked, we would have to show her and help her a little. I had used clicker training with other dogs before, and it was not only fun for me but also for the dog. Somehow we had never started training our newcomer with it, but now I dug out the clicker from the ominous corner drawer in the kitchen that hardly ever gets opened these days and made a plan.
Teaching my dog to use the cat flap!
My dog got the concept in a matter of hours and used the door by herself on the next day. Now she is young and very intelligent, but older dogs should also be able to learn this trick in no more than a few days.
Dog Clicker Training for flap doors – let’s get started.
Four essential things you need:
- A clicker
- Small dog treats or favorite toys
- A cat flap
- A dog (any dog will do…)
Clicker Training
If you’ve never heard about clicker training, then I will try to quickly introduce you to it. In short, clicker training conditions the dog through positive reinforcement to repeat certain behaviors. There is no such thing as active punishment in this training – “punishment” is shown in a passive manner by ignoring the dog. Dogs thrive on attention, they mostly don’t mind if it’s positive or negative attention – they often might not even be able to tell them apart. As long as their favorite humans interacts with them, that’s great news. Nothing is worse for a dog than being ignored. This is very useful when it comes to training.

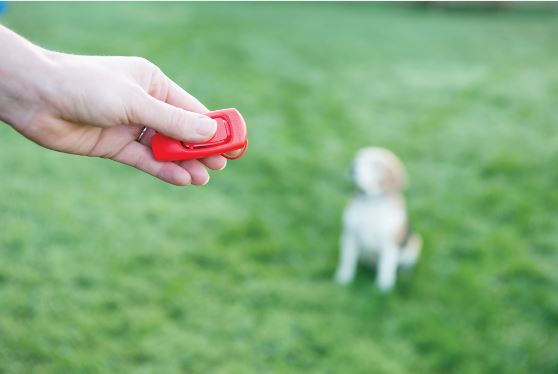
A click tells the dog “That’s exactly what I wanted you to do!”, then a treat follows. Click means treat – that is very important. Never click without it being followed by a treat – even if you click by accident. Click and treat go hand in hand. For most dogs, food treats work great, it is possible though to offer toys as a reward instead. Depending on the dog or the situation – I don’t take the clicker on walks for example, but I use the same method of “Do well and something good happens” to train my dog to, for example, stay sitting while I walk away. If she waits for my release command and comes running, we play with her toy. If she runs towards me without the command, we don’t play. That way she realizes that, even though staying put might not be the most fun thing to do right now, but when that’s done, there are better things to come!
Step one
But let’s go back to the cat flap. If your dog already works with clickers, then great, skip this paragraph and read the next. For everyone who has never used a clicker with their dog, you will want to get your dog accustomed to the clicker, what it does, how it works and how he/she can actually “make it click” to get to that tasty treat.
I admit, I am very impatient and extremely lucky with my dog. I have done all this in fast forward mode, but generally it is best to take some time and be patient… Start with teaching your dog what the noise means. With your dog in the same room, click the Clicker. Your dog will most likely look up at the noise, but even if he doesn’t, make sure to click and immediately offer him a tasty, small treat.
Click again, give the treat.
Click again, give the treat. Repeat.
Click again – does your dog already look a little excited about the noise? Good, he is starting to realise that a treat follows the click every time he hears it.
This stage shouldn’t take long at all, and it’s soon time for the next step.
Step two
I thought about what skills the dog would need to open the door. To go through the door she would have to push it with her nose. So my next goal was to get her to touch the cat flap with her nose. The direct approach didn’t seem to be very successful, so I got a colorful Post-It note out of the cupboard. Maybe this isn’t necessary if you manage to make your dog touch the door with its nose. However, I wiggled the bright pink piece of paper in front of her nose and the first thing she does is give it a quick sniff. As soon as her nose touches the paper – CLICK! and treat.
Move a few steps away and show the paper, have the dog follow you, trying to touch the paper with its nose.
When the dog touches the paper reliably, you can now introduce a command such as “Touch” every time the dog does the action. Your dog will soon connect the motion of touching the paper with the word.
Keep this up until she touches the paper with her nose every time she sees the paper. Once this works well, phase three can begin – stick the Post-It on the flap door.
Step three
With the Post-It on the flap and the dog knowing the “touch” command, the next step was quite easy.
Ask your dog to touch the paper. Click when they do. Your dog might not push the door yet, so start to encourage him to touch it harder. Stop clicking if the nose only just touches it, instead click only when the dog put enough pressure on the door and the door slightly wiggles.
Does the door wiggle a little every time now? Great, then take away the click again until your dog starts to push the door harder.
This is a gradual process and encourages the dog to think about what you want it to do. When he figures it out himself, he learns a lot faster. Teach him gradually to not just make the door wiggle but to push so hard, that he has to stick his head through – at this point he will usually have realized that he can walk through as the door actually reveals what’s behind, and eventually you will be able to gradually change the slight door touching to actually walking through. Like magic!
Done!
My dog was finally able to make her way in and out of the house whenever she wanted – and we could finally take off the second layer of socks.

This entry was posted in Dogs